Sweetie built us a greenhouse this Spring! It’s something I’ve been wishing for since I was a little girl and it’s everything I hoped for, except…. It was so boring! The materials he used are smart and economical. But, ugly! haha! We both really love our old barn and the new greenhouse sits between our house and the barn. Not an attractive addition.

As you can see, while functional, our greenhouse definitely didn’t add to the aesthetic of what I like to call our “Art Farm.” So, I started noodling how to make our new addition prettier while not affecting the function of the greenhouse.
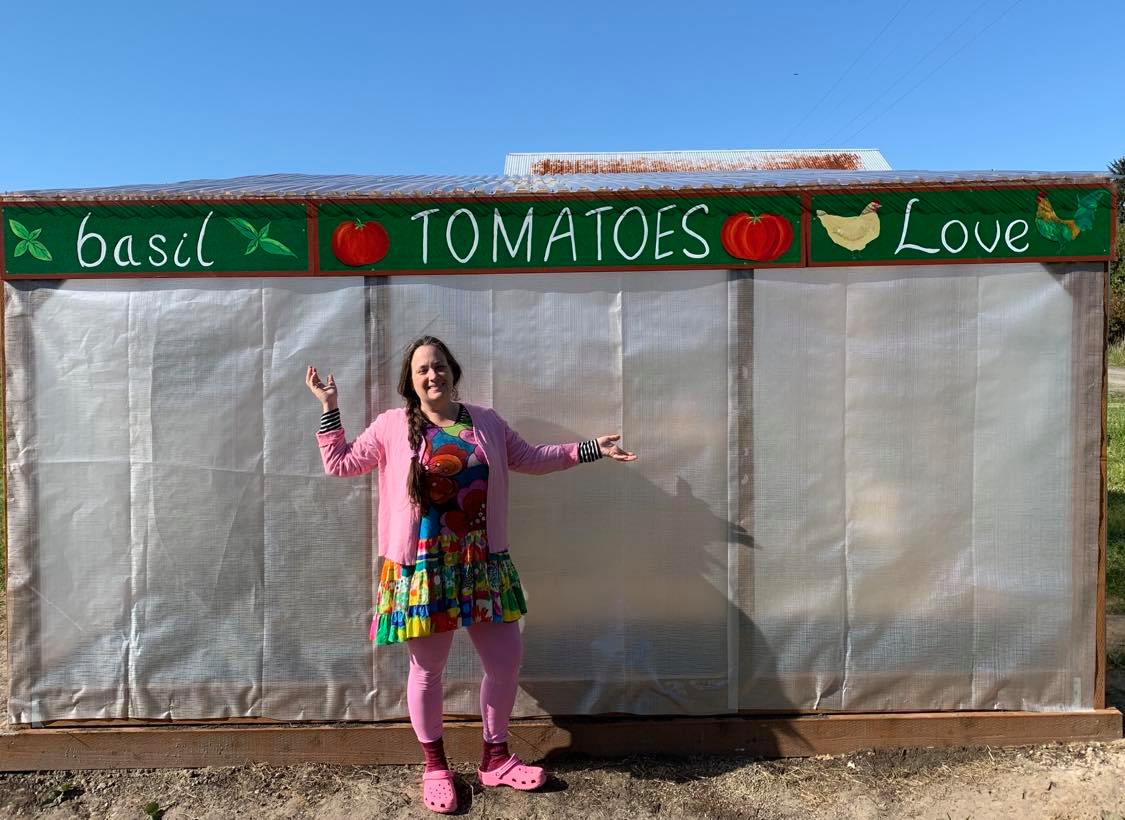
I decided to add some color and fun with simple signs. I started with the side that faces the house, and the road as you approach the barn. I decided on a sign that looks represents some of the best things on our little homestead. Inside our greenhouse, we’d already planned to plant tomatoes and basil. Since I dearly love our little chickens, I thought they’d be a good addition, too. Besides, they are cute as heck!
I measured carefully for the right size wood and purchased the least expensive option, pine. I covered all surfaces with primer because we live on the coast, and everything rots. Then, I was free to have some fun. I taped off the edges because I knew I wanted a border, then used a pencil to write my words, erasing until it was exactly what I wanted. Then went over the penciled words with paint.
The tomatoes I painted from my imagination, the basil and chickens I painted from reference photos. Here’s you can see the first set of signs as work in progress.

still working on a tomato

all painted and waiting for varnish
Once I had the house-view side prettied up, I decided I wanted something for the other three sides of the greenhouse. I love the cute, casual festive vibe of fabric banners. So, I decided to paint those on the other three sides. It was actually really fun. I painted the same base color as I used on the first signs. I measured the board to figure out how much room would be taken up with banners, and how much I’d have left on the end to paint pretend strings and nails. Next, I created a template and taped it to the board and taped off all of the triangles to make sure I liked the placement before I continued. To create the look of the flags, I painted more base color for each one and finally made up fabric patterns for each flag. I recommend using tape for stripes as no matter how hard I tried to get my lines straight, the ones I did by hand definitely LOOK like they were painted free-hand. If you want a more home-made look, that may be just what you want. For a more precise outcome, tape! Finally, I added a ribbon across the top and pretend nails and hanging ribbon ties. Here’s a photo of my shed wall with the flags done, but no ribbon, yet. 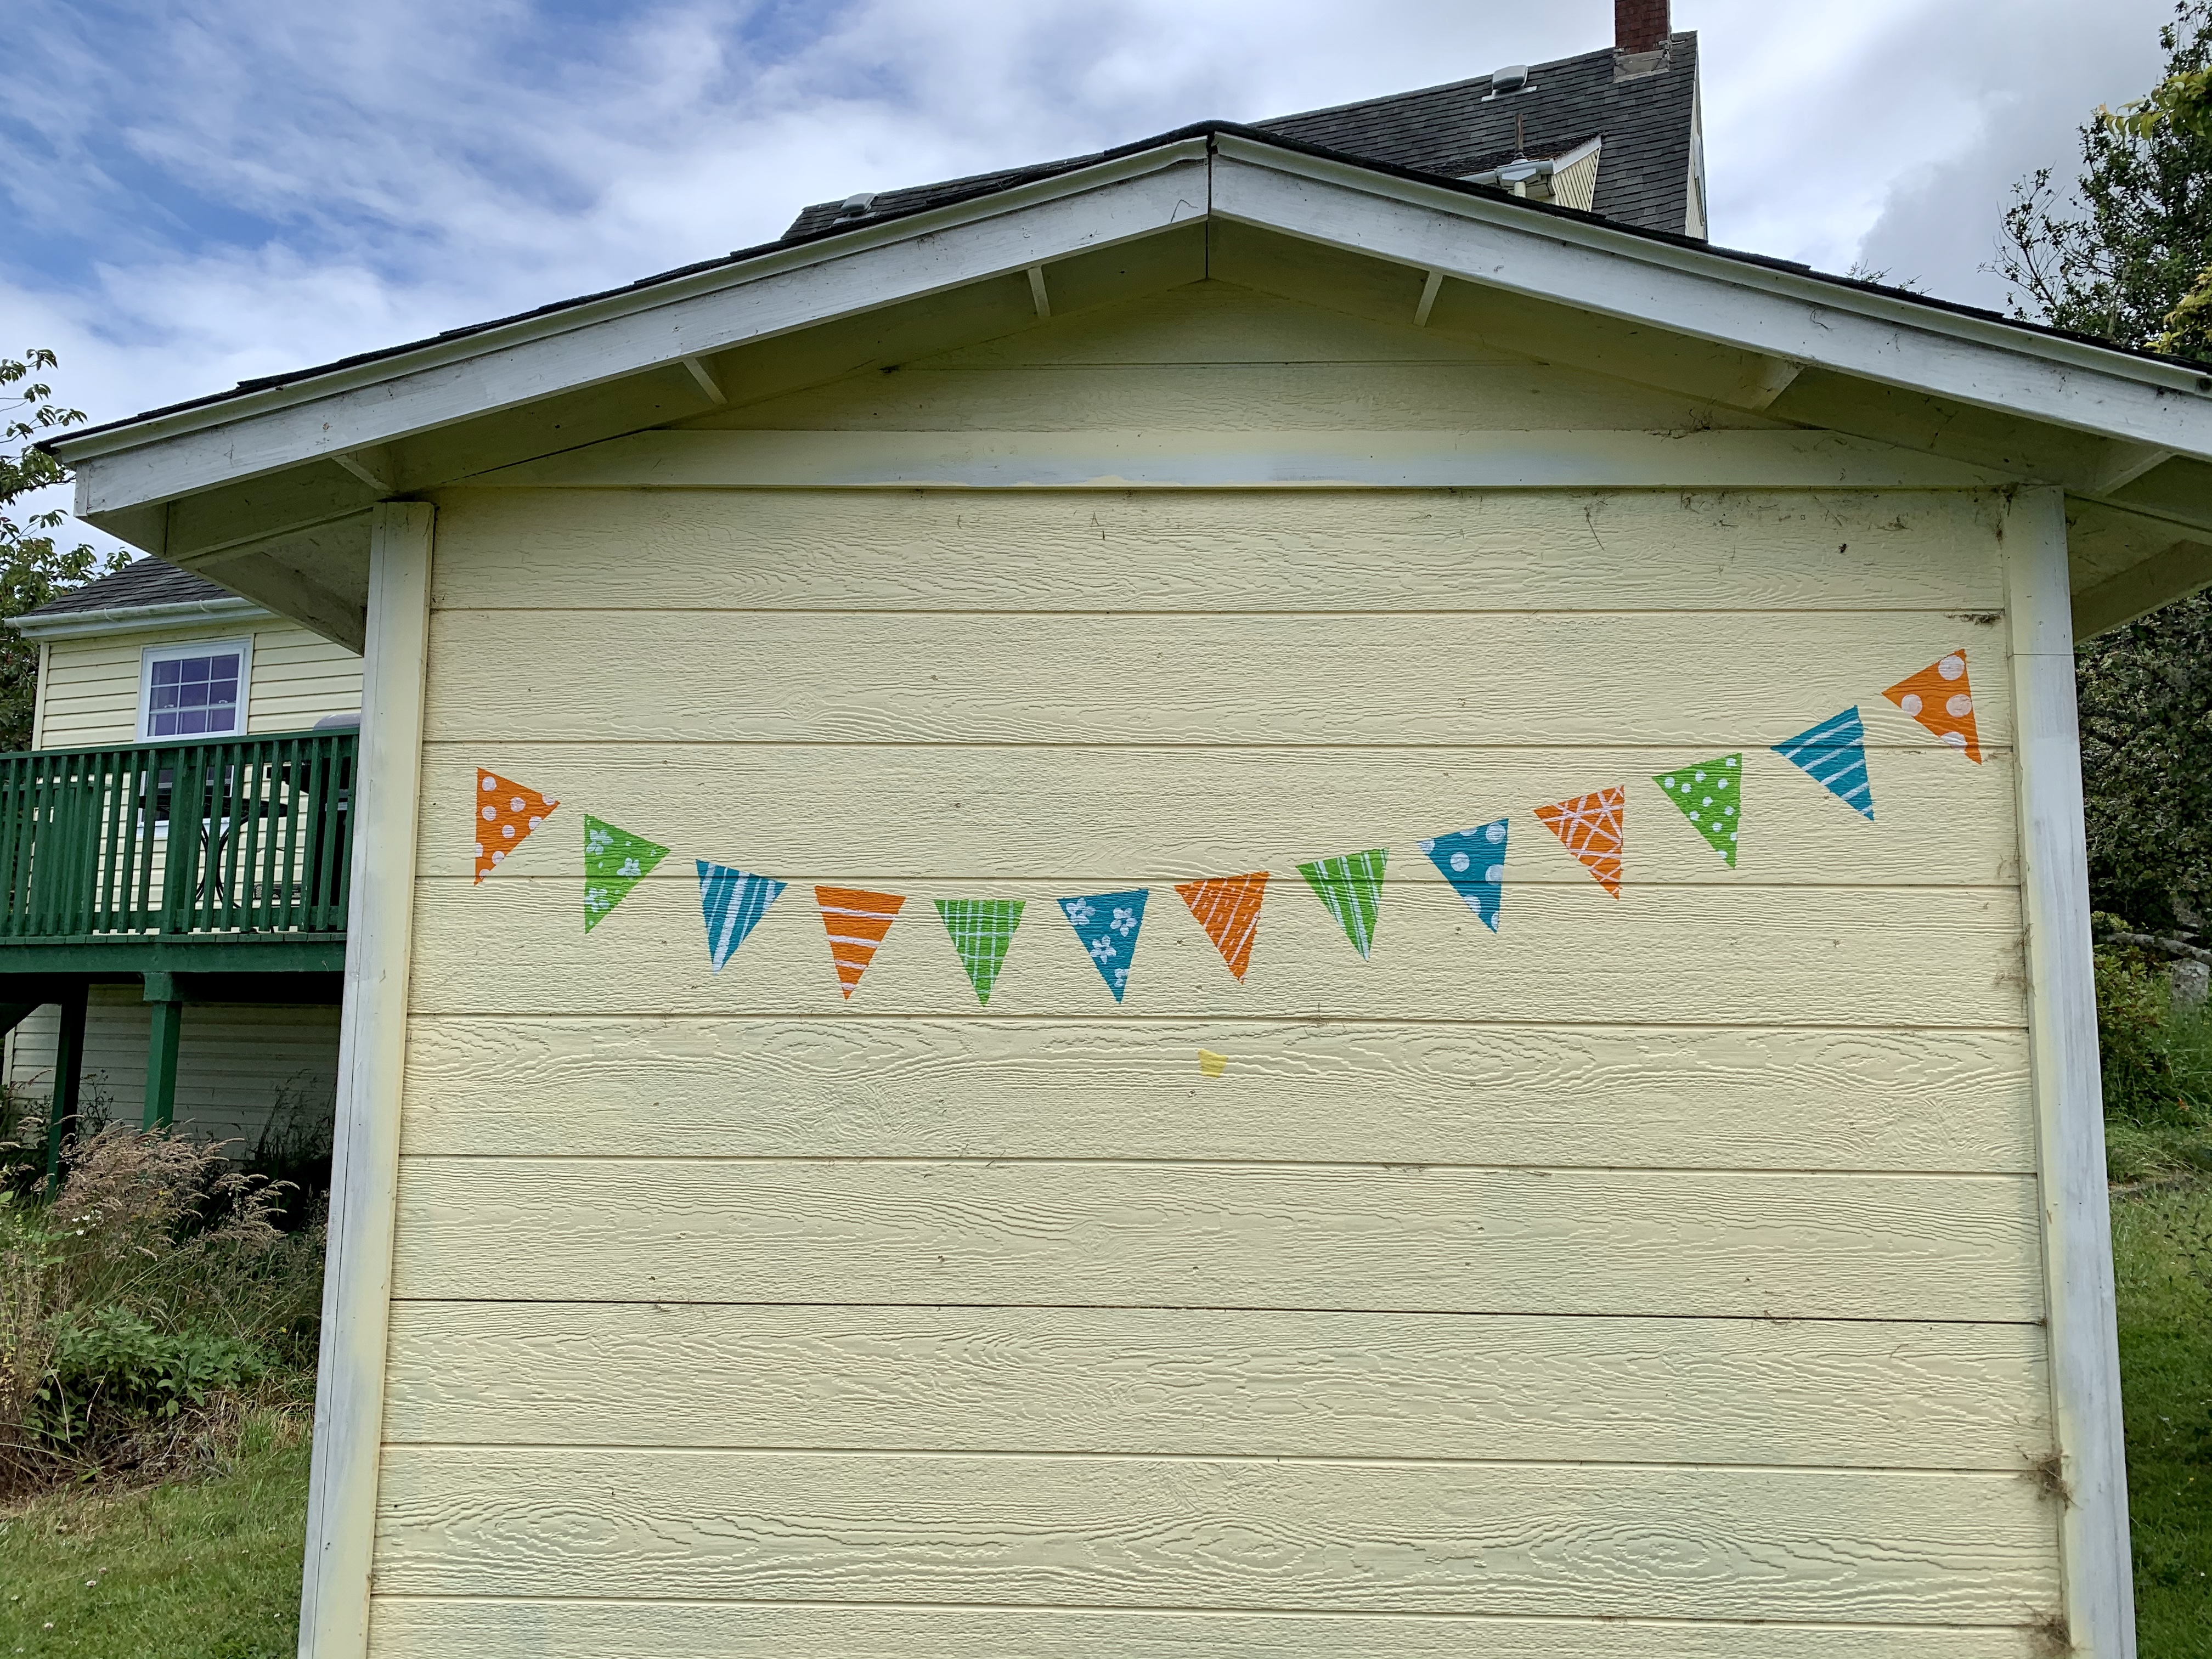
This is what the boards looked like with the tape, but not painted yet.

taped off flags

Template I used to ensure each flag was the same shape and size
As with any art you plan to keep outdoors, remember to use a good high-quality, non-ambering varnish. I like crystal clear varithan. A light spray coat to set your work will ensure no spearing happens. Then, you can go over it with paint-on varnish, or more layers of spray.
I am really happy with the way it all turned out. I hope that this post inspires you to create something you love, too.
Here’s some photos of the finished product.

Front of greenhouse with flag banner

The view including our barn

back side of the greenhouse